Top 10 Tips for Golden Hour Photography
Golden hour is a photography trend that's been around since cameras existed. It's recently been sweeping the nation thanks to those beautiful Instagram shots you're always seeing on your feed.
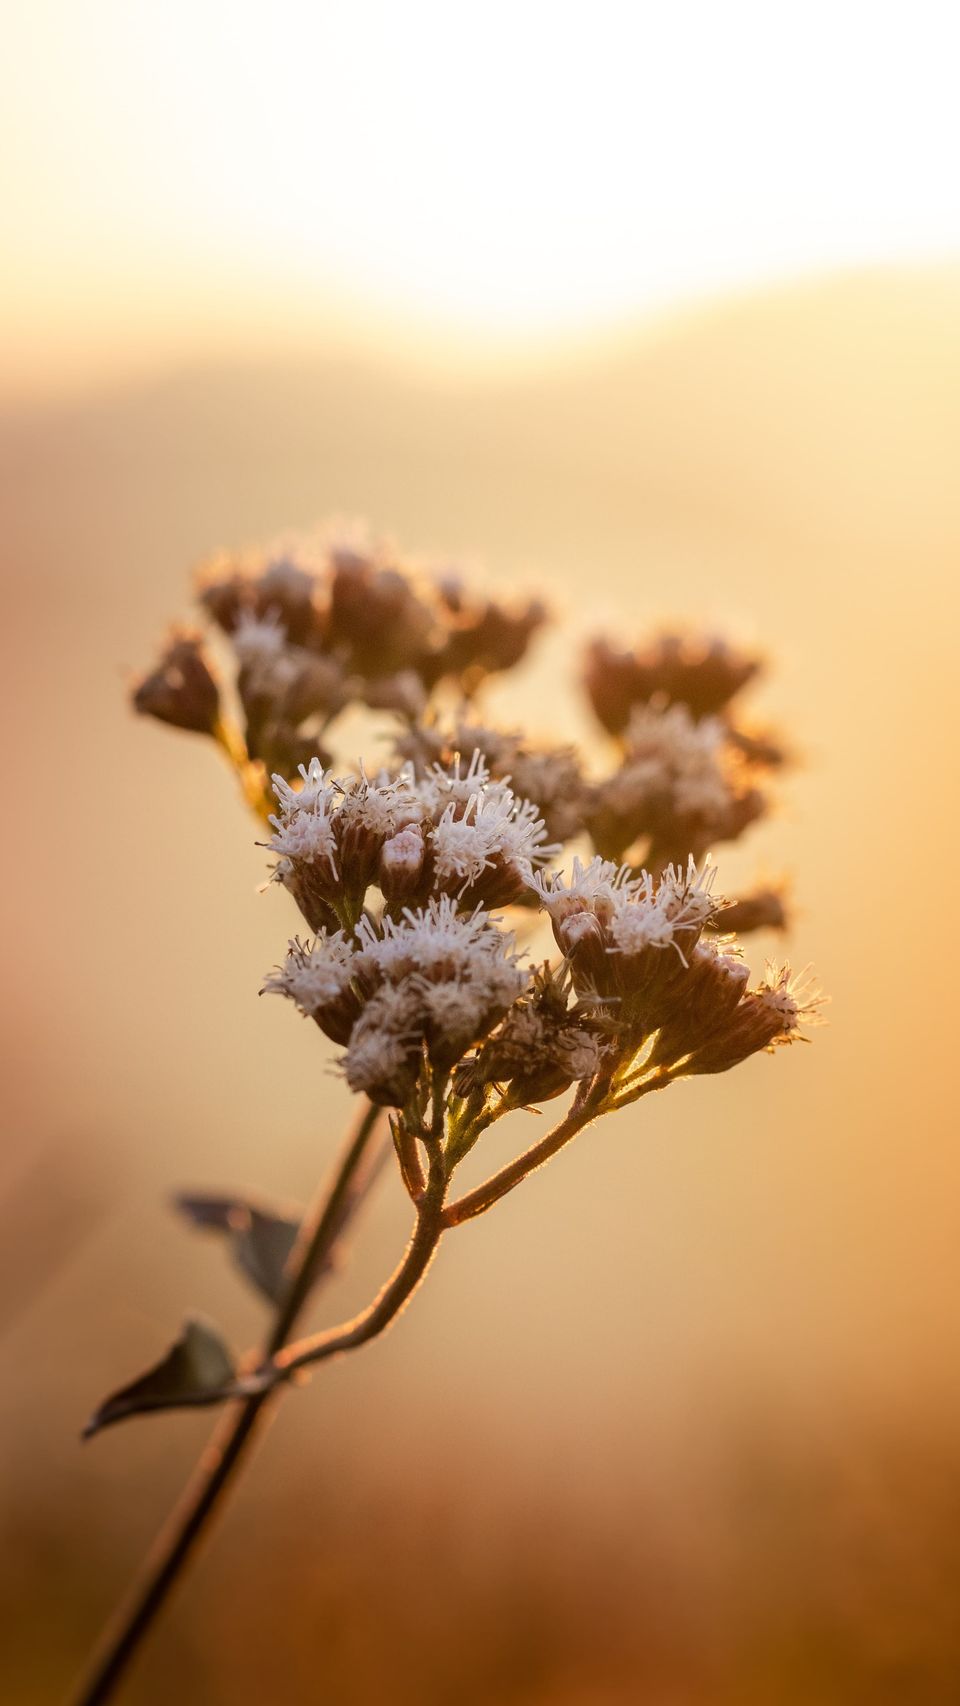
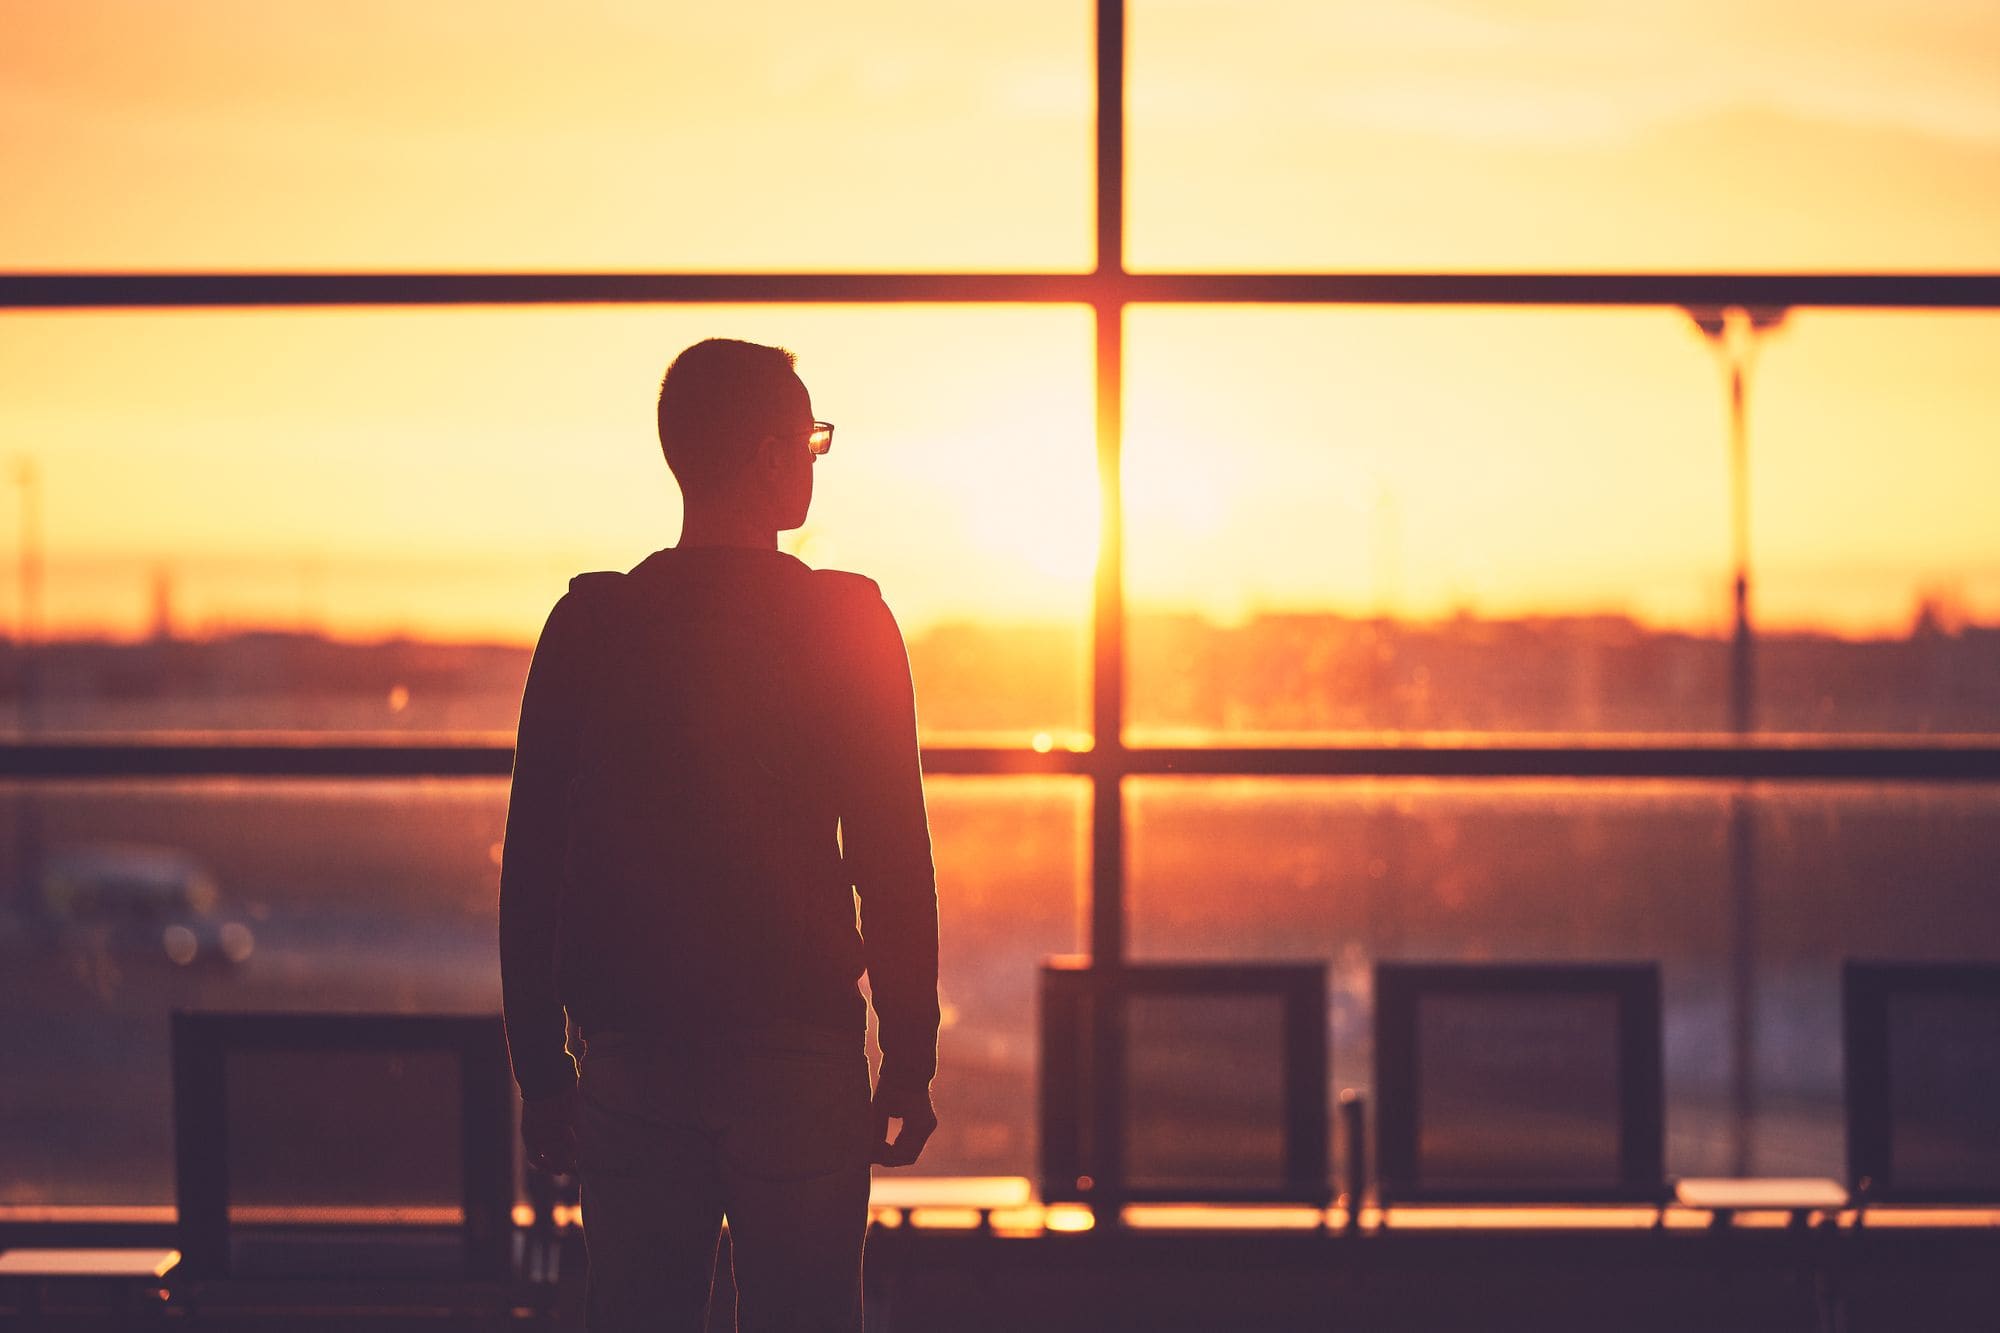
At a specific hour in the morning and evening, just after sunrise and sunset, the sun reaches a low point in the sky. that illuminates the landscape (and people) it hits with a warm, flattering radiance. Golden hour is also accompanied by long, dramatic shadows due to the sun's position in the sky. Lighting can make or break a picture - flat, dull lighting produces flat, dull images. This is why golden hour is so popular - it's a free, daily professional lighting setup!

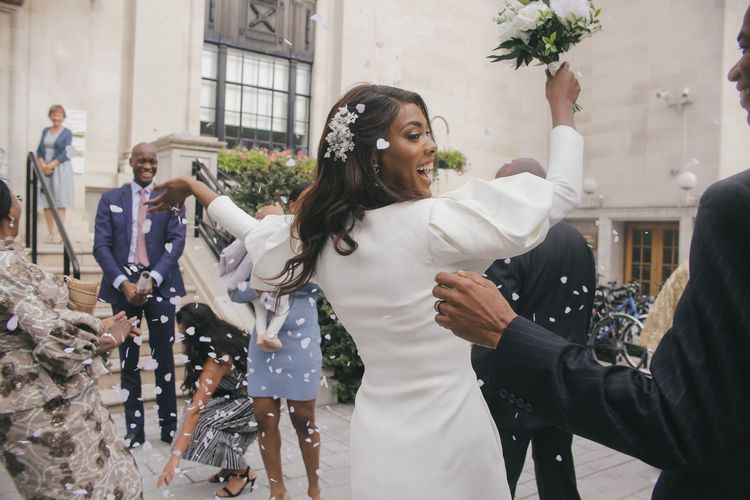
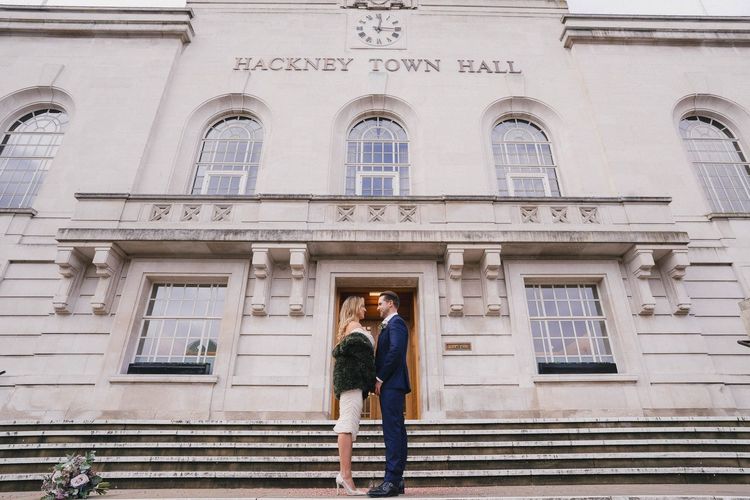
Golden hour can make a great opportunity for portraits, family photoshoots, weddings and much more. It's a versatile and important time of day in the world of photography.
The elusive orange glow of golden hour is highly sought after in the photography world. This is why we've written our top ten tips on how to make the most of that small golden window to get the most beautiful shots!
1. Get there with time to spare
Wherever it is you plan to have your golden hour photoshoot, make sure you give yourself plenty of time to prepare. If you're travelling to a beautiful outside spot, make sure you arrive with at least 30 minutes to go until 'golden hour' starts. This way you can set up your shots and equipment, and once the sun is in the right place in the sky, get shooting right away!
2. Make sure you know the golden window
The elusive Golden hour varies depending on your location and the time of year. Golden hours are always in the morning or evening time, and summer months give the most radiant glow to your shots. Overcast or grey days don’t have quite the same magic, however the light will still be soft and directional. You can find out your location's golden hour with this online tool.
3. Shoot quickly
You’ve got a fairly short window to take your photos, so get snapping as soon as the conditions are right. Take as many shots as you can within the hour - the lighting will change as the sun moves, giving you a variety of styles.
4. Angle it right
If you're taking portraits or headshots in the golden light, ensure your model stands angled so that the sunlight hits their face directly. Golden hour's light has bright highlights and very dark shadows, creating dramatic lighting for any shot. If angled incorrectly there will be strange and unsightly shadows cast on your subject. Play around with angles and the amazing lighting! This way you will make the most of the golden hour glow, and the light will correctly illuminate your subject without casting odd dark shadows.
5. Turn off white balance
If you're using a digital camera or a mobile phone for your shots, the likelihood is the device will have an in-built colour correction feature, which may attempt to neutralise the orangey glow in your photos, ruining golden hour! In order to make the most of the evening light, make sure you disable any automatic camera settings that may detract from your golden hour shots! Hint: 'cloudy' mode should help keep your golden glow.
6. Make use of the 'golden halo'
If taking pictures facing the sun, your subject (whether it's a person, or perhaps nature) will be endowed with a saintly 'golden halo'. As the sunlight travels past your subject, it will illuminate its edges (such as hair and clothing), giving an outline of golden light. This is another stunning effect that can be achieved at golden hour. In order to avoid total darkness in the foreground, try using a fill (slightly gentler) flash to brighten your subject's face.
7. Stay in manual mode
Best effects at golden hour will be achieved with a proper camera, as these have a 'manual' setting, allowing you to have total control over the shutter speed and aperture. During golden hour, the lighting will change dramatically as the sun moves in the sky. Provided you know what you're doing, manual mode will allow you to play around with settings to give you the best shots possible.
8. Shoot with a wide aperture
Again, if you're shooting portraits at golden hour, keeping a wide aperture will heighten the ethereal golden glow by adding bokeh to your subject's surroundings.
9. Add lens flare
Lens-flare is a professional looking effect that pretty much anyone can achieve. Lens flare occurs when too much light enters the lens and must be scattered. All you need to do is angle the camera correctly, and you'll see that flare of beautiful sunlight across your picture. Try different angles towards the sun to get some great lens flare!
10. Have fun with it!
Whether you're a beginner or a photography pro - golden hour can provide you with some beautiful sun-soaked photos to share. Play around with camera settings and angles to see a variety of outcomes, and what works best. Photography is a learning experience - you can experiment again and again. A whole host of fantastic effects can be achieved during golden hour - simply make sure you're well prepared and work quickly!
Golden hour photography is always an amazing time to take photos with great lighting (for free!) Get out there and start snapping!